

Description
Premium Cartridge Alignment Protractor
Precision for the Highest Sound Standards
This high-quality alignment protractor has been designed to unlock the full sonic potential of your turntable. The premium version features an exceptionally rigid construction, offering approximately 75% greater stiffness compared to standard models. This ensures accurate, consistent, and repeatable cartridge alignment.
Thanks to its increased size, the tool sits securely on the platter and allows for comfortable, controlled handling. The durable construction guarantees dimensional stability and long service life – even with frequent use.
Optimized Geometry for Accurate Tracking
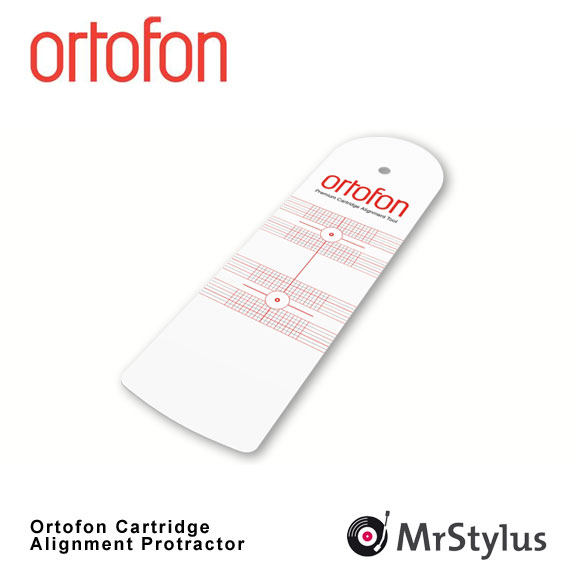
The protractor incorporates two precisely defined null points based on Baerwald geometry. This allows accurate cartridge alignment across the entire playable area of the record – from the outer grooves to the innermost tracks.
The result is reduced distortion, improved channel separation, and a detailed, natural reproduction of your vinyl collection.
Price: €9.90
Free shipping on orders over €80
Using the Alignment Protractor
Proper cartridge alignment is essential for consistent playback quality. Even minor deviations can audibly affect distortion levels, soundstage, and tonal balance.
1. Set the Initial Position
Begin by positioning the cartridge centrally within the headshell slots. This neutral starting point provides the ideal basis for precise fine adjustment.
The protractor features two clearly marked reference points that serve as control positions for accurate alignment.
2. Position the Protractor Correctly
Place the alignment protractor flat on the platter surface. Carefully lift the tonearm and lower the stylus onto each null point in turn.
Observe the cantilever – the delicate component connecting the stylus to the cartridge body. It should be perfectly parallel to the printed reference lines on the protractor. Proceed with extreme care during this step to avoid damage.
3. Fine-Tune the Alignment
If the cantilever is not precisely parallel to the reference line, adjust the cartridge position within the headshell in small increments. Even minimal corrections can significantly improve tracking performance.
4. Verify the Second Null Point
Gently reposition the protractor so the stylus can be lowered onto the second reference point. Check the cantilever alignment again and make additional fine adjustments if necessary.
Repeat this process until the cantilever is perfectly parallel to the reference lines at both null points.
Only when alignment is correct at both positions is the setup fully optimized. Precise adjustment ensures even stylus contact with both groove walls, enabling clean, low-distortion playback with exceptional detail retrieval.
